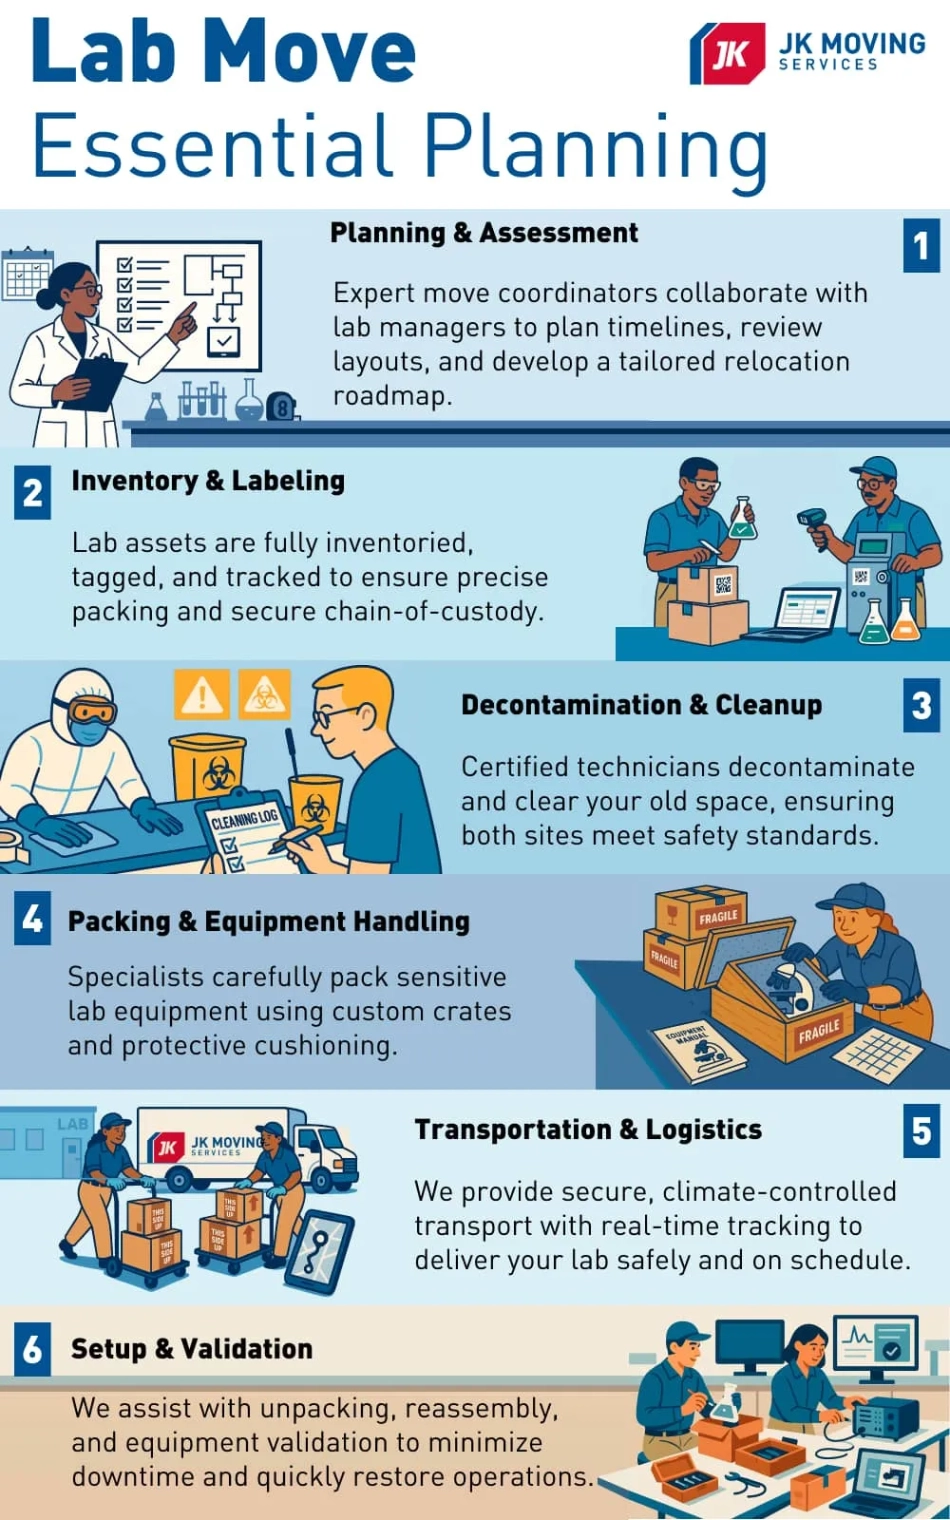
Moving a laboratory is a complex and challenging process that requires careful planning and execution. From handling delicate equipment to ensuring regulatory compliance, every step must be meticulously managed to minimize downtime and disruptions. Whether it’s a lab move or a library relocation, specialized planning and care are critical to success. For environments like hospitals and clinics, proper healthcare FFE logistics solutions are also essential to ensure safety, compliance, and operational continuity.
1. Choose an experienced lab equipment mover
The first step is to choose a reputable lab relocation company with experience in moving specialized laboratory equipment. This is important because lab equipment is often delicate and expensive, and you need to be sure that it will be handled with care especially when it comes to relocating laboratory equipment safely. A professional lab mover will have the expertise and resources to safely move your lab equipment, as well as the insurance to protect you in case of damage.
What to look for in a lab mover:
- Proven experience with lab relocation services
- Expertise in handling sensitive and medical equipment
- Proper licenses, certifications, and insurance coverage
- Custom packing solutions for delicate instruments
- Knowledge of lab move procedures and safety regulations
2. Get organized and plan early
Once you’ve chosen a lab mover, it’s time to get organized. This includes creating a detailed inventory of your lab equipment, as well as a plan for how you want the equipment to be moved. It’s also important to communicate with your lab staff about the move and to make sure that they are aware of the timeline and the need to prepare their work areas.
Key planning steps:
- Conduct a risk assessment to identify fragile or hazardous materials.
- Develop a step-by-step lab transition plan.
- Communicate the move timeline with lab staff.
- Ensure all permits and compliance documents are in place.
3. Pack and label equipment carefully
The next step is to pack and label your lab equipment carefully. This is important to protect the equipment from damage during the move. Be sure to use sturdy boxes and packing materials, and label each box carefully with the contents and the destination room.
Packing best practices:
- Use anti-static, padded containers for sensitive electronics.
- Label all items clearly with their destination and handling instructions.
- Pack hazardous materials separately according to safety regulations.
- Create a tracking system to ensure nothing is misplaced during the move.
4. Coordinate with your lab mover
 Effective coordination ensures a streamlined relocation process. Provide the lab mover with your detailed inventory and relocation plan. Be available on the day of the move to address any questions. Partnering with a team that truly understands the intricacies of commercial relocations is key—discover why commercial relocation experience matters when managing sensitive lab and medical environments.
Tips for Successful Coordination:
- Confirm the moving schedule and logistics
- Review packing and handling procedures with the movers
- Ensure a compliance officer is present for hazardous materials transport
- Keep communication lines open for real-time updates
5. Inspect the equipment after the move
Once the equipment has been moved, it’s important to inspect it carefully to make sure that it is undamaged. This is especially important for delicate or expensive equipment. If you find any damage, be sure to report it to the lab mover immediately.
By following these five steps, you can ensure that your lab relocation goes smoothly and efficiently. With careful planning and execution, you can minimize downtime and disruptions to your lab operations.
Post-move checklist:
- Inspect all equipment for physical damage.
- Perform recalibration and functionality tests.
- Ensure proper setup and installation in the new location.
- Address any issues with the moving company immediately if damage is found.
For answers to common questions about lab relocations, compliance, equipment handling, and storage, visit our Commercial Moving Frequently Asked Questions page.
Relocating a lab is no small task, but with the right preparation, expert movers, and clear coordination, you can minimize disruptions and ensure a smooth transition. If you’re looking for reliable Cleveland laboratory and medical moving services, working with a specialized partner like JK ensures your valuable equipment and research are in expert hands. By following these five essential steps, you’ll protect your valuable equipment, maintain compliance, and get back to your research with minimal downtime. Whether you’re moving across the hall or across the country, partnering with an experienced lab relocation team can make all the difference. Ready to plan your lab move? Contact us today to learn how we can help ensure a seamless transition.


