

A standard lab move is complicated enough. A cleanroom or biorepository relocation raises the stakes further – a few hours at the wrong temperature can destroy irreplaceable samples, and a cleanroom’s certified cleanliness doesn’t carry over to a new space on its own. Both risks need a plan built around them, not just careful packing.
Protecting sample integrity comes first
Every decision in a biorepository relocation should be weighed against one question: does this put sample integrity at risk? The ISBER Best Practices for Repositories, the field’s leading reference for biobank and biorepository management, recommends written, validated procedures for every stage of specimen handling – not just storage, but transfer and transport as well. That means knowing, in advance, exactly how long each sample type can tolerate being in transit and building the move around that limit, not the other way around.
Tip: Determine ahead of time if ultra-low temperature (ULT) freezers need to travel while running or powered down. Running units need a reliable power source during transport; powered-down units need a hard limit on how long samples can stay above temperature before they’re compromised. Either choice has to be made deliberately, not discovered mid-move.
Maintaining the cold chain door to door
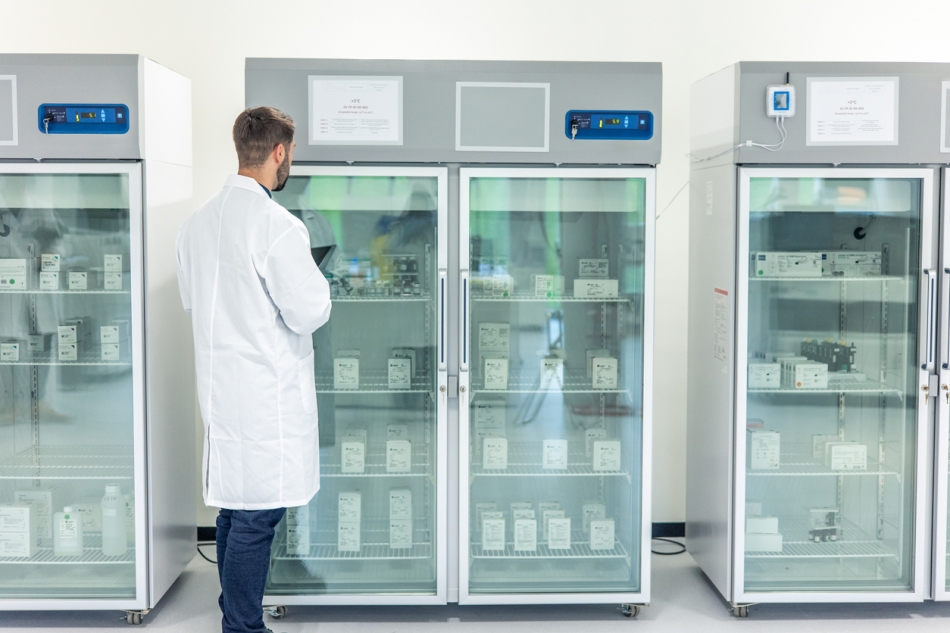 Cold chain continuity is where biorepository moves most often go wrong. ULT freezers, liquid nitrogen storage, and refrigerated units all need continuous temperature monitoring from the moment a sample leaves its original storage unit until it’s confirmed stable in its new one – with no gaps where a temperature excursion could go unnoticed. Our guide to relocating lab equipment safely covers the equipment-handling side of this in more depth.
Contamination control for cleanroom moves
Cleanroom relocations add a different kind of risk. The room may be classified under ISO 14644-1 (the international standard for air cleanliness), but the classification doesn’t automatically transfer to a new space. To ensure you move your cleanroom equipment without compromising its surfaces, you need to plan for decontamination and re-validation at the destination before the room goes back into service, not after something fails an inspection.
Tip: Build recommissioning and re-validation time into the project schedule from day one. If you wait to address validation as a final step, rather than building it into the timeline, you may end up dealing with unplanned downtime.
Chain of custody, start to finish
Every handoff (from the person who packed a sample to the one who received it) needs a timestamped record. That documentation is what proves nothing went wrong in transit if a sample’s integrity is ever questioned later.
Plan for what could go wrong
Know where backup storage is and who’s authorized to use it before a freezer fails in transit or a delivery gets delayed, not after. The answer needs to exist on paper before moving day, not get worked out over the phone while a sample’s temperature is climbing.
Cleanroom and biorepository relocations share a lot in common with standard lab moves; they just leave far less room for error. Our lab relocation timeline guide and advice on choosing the right relocation partner are a good next step for planning the rest of the project.